
Rack Up Huge Strength Gains
Print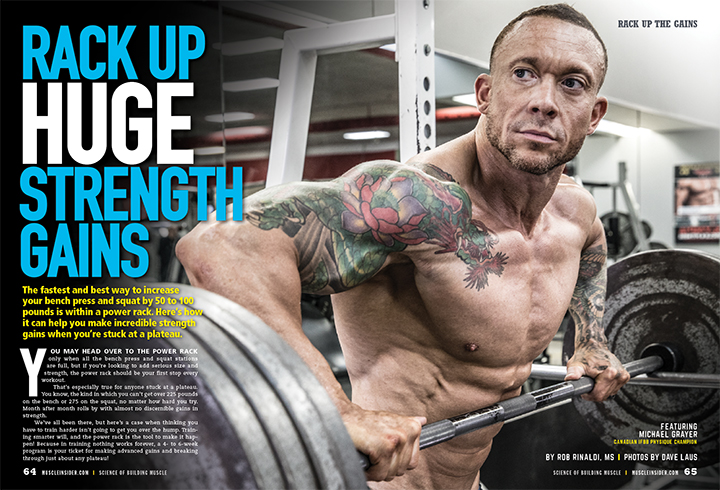
The fastest and best way to increase your bench press and squat by 50 to 100 pounds is within a power rack. Here’s how it can help you make incredible strength gains when you’re stuck at a plateau.
You may head over to the power rack only when all the bench press and squat stations are full, but if you’re looking to add serious size and strength, the power rack should be your first stop every workout. That’s especially true for anyone stuck at a plateau. You know, the kind in which you can’t get over 225 pounds on the bench or 275 on the squat, no matter how hard you try. Month after month rolls by with almost no discernible gains in strength.
We’ve all been there, but here’s a case when thinking you have to train harder isn’t going to get you over the hump. Training smarter will, and the power rack is the tool to make it happen! Because in training nothing works forever, a 4- to 6-week program is your ticket for making advanced gains and breaking through just about any plateau!
Advantages of the Power Rack
The power rack is a large, cage-like structure that has four vertical pillars with holes drilled on each side that are about two inches apart. This feature enables you to position safety bars at various heights to support the barbell at any height. (Some Smith machines feature adjustable safety bars that can mimic some of the functions of the power rack, but with those the safety catches are typically about six inches apart.) Training in a power rack offers a number of advantages over traditional benches and racks.
1. Increases safety. When going heavy, the safeties act as a spotter so you don’t get caught under the weight when going to muscle failure. Position the safety bars at the lower end of the range of motion (ROM) of a given movement. On the final rep, lower the barbell to the safeties and get out from under it. This is especially useful when you’re going heavy and don’t have a training partner.
2. Provides a boost in confidence. Because the power rack allows you to train heavier than you might normally, you can grow accustomed to the feeling of handling very heavy weights, thus improving confidence. That psychological benefit shouldn’t be understated. In fact, just holding onto a loaded barbell with a weight greater than your one-rep max—without even executing the movement—helps you get over the fear of handling such loads.
3. Can help with injury rehab. Sometimes injuries may be painful only at a particular point in the ROM, so with the power rack you can restrict the movement to points above or below it simply by positioning the safety bars. Shorter ROM movements are called partial reps.
4. Allows you to use techniques that initiate big gains in strength. This is your focus if you’re stuck at a training plateau. For obvious reasons, these will be done with a barbell, and the three techniques described below are best done with the three big power movements—deadlifts, bench presses and squats—though you can certainly do them with other exercises.
Partial-Rep Lockouts
With the power rack, you can stop and start exercises at very specific points in the ROM by adjusting the safety bars. For one, this enables you to train specifically at your sticking point, that area of your strength curve in which you’re weakest, and target it for extra work.
But that’s not all: You can also train exclusively above or below your sticking point. If your sticking point is where you’re weakest, those other areas will be ones in fact in which you’re somewhat stronger, and hence you can add even more load as you train these partial reps. That’s one of the biggest reasons partial-rep lockouts complement full ROM training so well: You can specifically target the amount of weight you’re using to your strength curve.
For example, most lifters are weaker over the lower portion of the bench press—getting the bar off the chest (assuming you’re not bouncing). Because of that, the weight used is determined by where you’re weakest. By training over just the top half of the ROM, however, you can use substantially more weight using a technique called lockouts. With the safeties set about halfway up the ROM, you’re pressing the bar a shorter distance but are no longer limited by your sticking point. Add 5 to 10 percent or more weight to the bar than you’re normally accustomed to benching when working over a shortened ROM.
For advanced gains, instead of always using the same location for the safeties for all six weeks, from one workout to the next, lower them one notch to ever so slightly increase the ROM. That helps build up strength over a greater portion of your strength curve.
Reverse Movements
If you remember anything from your high-school physics class, you’ll catch on to how this one works. As you lower a weight (the negative portion of the rep), the target muscle is stretched, building up what’s called elastic energy (or eccentric pre-stretch). This energy helps you during the initial stages of the concentric lift as you reverse direction. (That’s one reason the first rep of dumbbell bench presses, with the weights starting off just outside your shoulders, is harder than the second or third reps when using a moderate weight.)
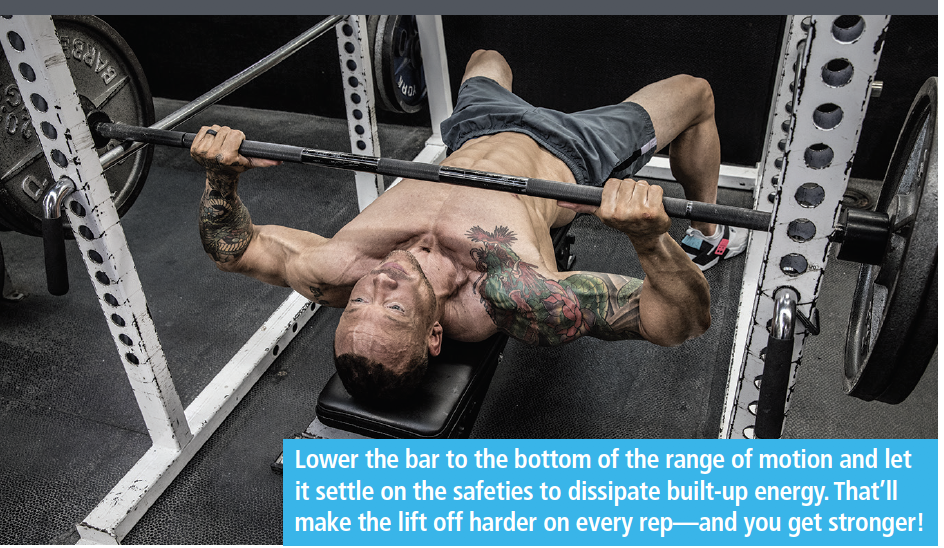
However if you come to a one- to two-second stop in the bottom position, that energy is lost, making the initial phase of the push much harder. By eliminating the stretch reflex, the target muscles have to work harder coming out of the hole, and that’s where you can effectively employ selective sets to build up strength. (Consider that when you bounce the bar off your chest at the bottom, you’re effectively making the movement easier, which is counterproductive to making strength gains at the bottom portion of the rep.) The key, then, is stopping each rep at the bottom for one to two seconds. Set the safety bars at the lower end of the ROM and allow the bar to settle on them momentarily to release the built-up energy. It’s now much harder, but that’s how you’re effectively going to build strength through the bottom portion of the lift.
This technique is particularly useful for building strength at sticking points where your leverage is poor, so placing the safety bars correctly is important. Squats and bench presses, for example, have ascending strength curves, meaning you’re strongest toward the top, so setting the safeties at the bottom proves to be most effective. Use a weight about 10 percent less than normal and do 3 to 5 sets of 6 reps. Once you go back to your regular style of training after four to six weeks of training like this, you’ll be much stronger at your sticking point.
Isometrics
Another way to conquer a sticking point is with isometric movements. Isometrics are a type of contraction in which the muscle doesn’t shorten, so there’s no movement. If you’re pushing against an object that’s too heavy to move, you’re doing isometric training. You generate force, but there’s no muscle shortening or lengthening. The reason isometrics can be more effective is that you can generate more force with an isometric contraction than a concentric contraction because you can push as hard as you can; that’s not true with concentric training as you decelerate the bar toward the end of the ROM.
Doing isometric exercises can help you build strength specifically at your sticking point, with the one caveat being that you’re building strength only at the one angle in which you’re working (plus or minus about 7 degrees). You’d have to do isometrics at multiple angles if you want to effectively work the entire ROM.
Say your squat always sticks about four inches from the bottom. Set the safety bars on the power rack near your sticking point, and load up a weight you can’t even do for a single rep. A set consists of pushing as hard as you can against the loaded barbell (that’s not going anywhere) for intervals of five to 10 seconds. Take a 90- to 180-second rest before repeating for 3 or 4 total sets. Do a few sets at various levels in the power rack just above and below the sticking point too. (Alternatively, instead of using a superloaded bar, you can use an unloaded barbell, pushing up against the safeties rather than from off them.)
