
Building A Bigger, Better Back
Print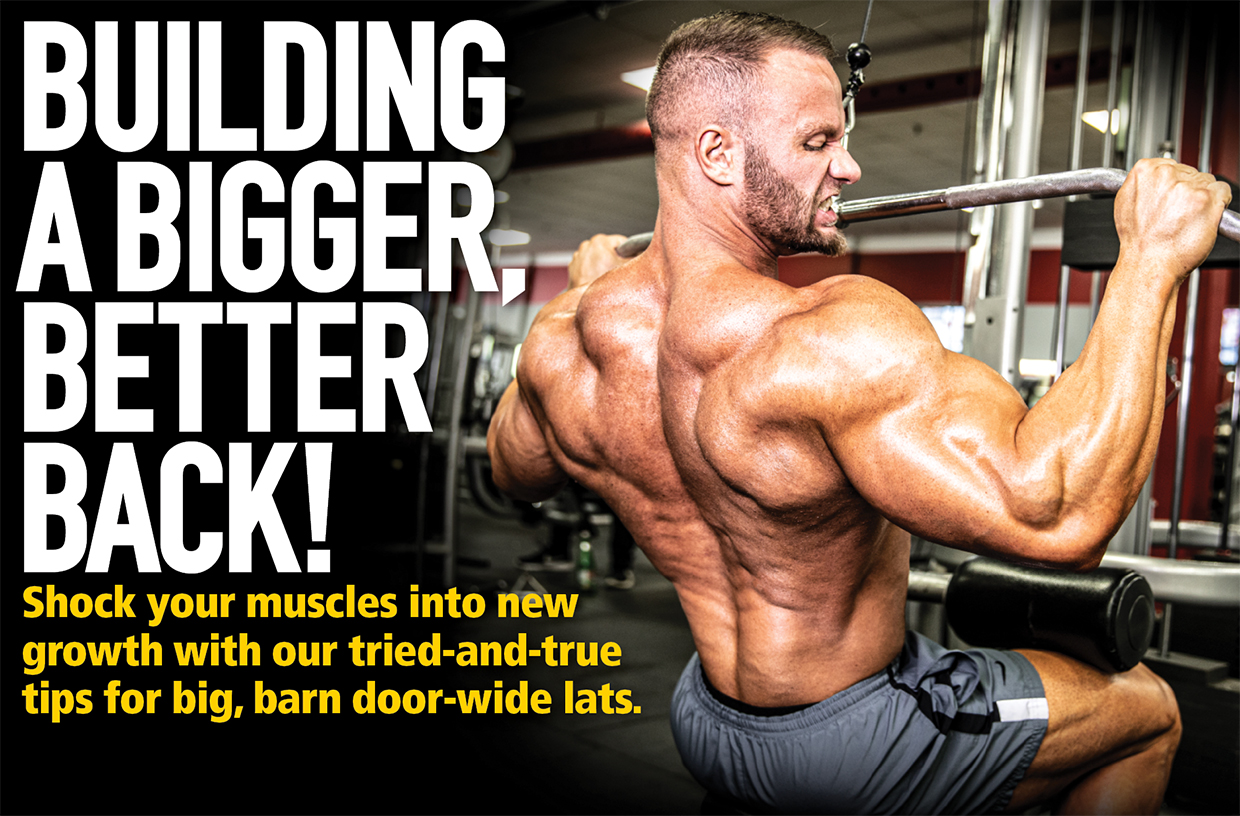
1. Seated wide neutral-grip row
2. Seated one-arm row with D-handle
3. Pull-ups
4. One-arm barbell row
5. Lat pull-down
6. Reverse-grip pull-down
7. Straight-arm pull-down
8. Bent-over T-bar row
Want to get the most out of your back training? Shock your muscles into new growth with Muscle Insider’s tried-and-true methods for building barn door-wide lats.
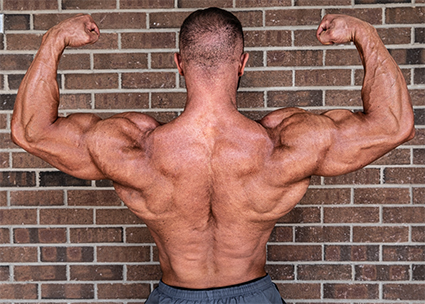
For every competitor who gets onstage, a well-developed back is paramount. Even for the average gym-goer, wide lats and a thick trapezius add a lot to an overall look of a physique. It’s not necessarily as cut and dried as you may think when it comes to developing a large, pretty, and dense back, though. Sometimes you need to add a few new tools to the toolbox once the initial size is packed on behind your shoulders to ensure things keep progressing. Here are some methods to create some new mass that incorporate a lot of active time under tension and hit areas of the back that often need the most attention. Read on and give it a shot for yourself.
The Workout
Throughout this entire workout, the emphasis should be placed on the muscle working, not the weights used. Of course, you should always train as heavy as possible with good form, but there shouldn’t be a trade-off for tension on the muscle.
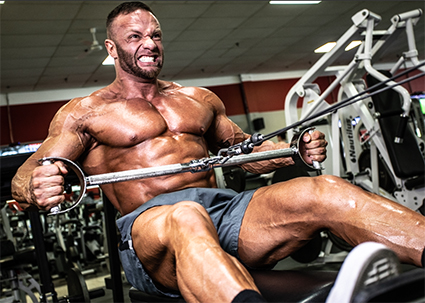
Seated Wide Neutral-Grip Row
The seated wide neutral grip row is a great exercise for your mid-back and inner lats. If you’re someone who has width but lacks density, this is a great exercise to start with. Because you’ll be using a heavy load and this is our first exercise, you’ll want at least a couple of warm-up sets before attacking your first working-set.
Sit in an upright position with your feet against the footrests and be soft on your knees. From there, lean forward to fully stretch the lats with your arms extended. Finish the movement by driving your elbows behind your ribcage and pulling the attached bar into your bellybutton for a one-count.

Seated One-Arm Row with D-Handle
The next movement also torches the lats through a full range of motion. Instead of a bilateral movement, here you’ll opt for unilateral. The benefit of this is that you can actually get the attachment behind your stomach and ribcage for an even deeper contraction of the lats and teres major and minor.
Again, your leg and torso position will be the same here. As you let your arm drift forward on the negative, pronate your wrist so your palm is facing the ground. As you contract, supinate your wrist and drive your elbow not only back but also behind and across your spine.

Pull-Ups
This is as bread-and-butter as it gets for back development. Nothing is more impressive than someone with mass who can properly execute a ton of pull-ups. Every aspect of the back comes into play here, from lat to lat and from traps to erectors.
Grab a pull-up bar with an overhand grip at shoulder width. Cross your feet behind you and let your shoulder blades protract as much as possible in a hanging position. Drive through your elbows and bring your clavicles as close to the bar as possible while retracting your scapulae and forcefully contract your upper lats.

One-Arm Barbell Row
This exercise is one you could categorize as a “golden era” classic. This is an excellent movement to focus on using the mid-back to contract and move the weight. Low lats are the primary target here to initiate the movement, but again, the unilateral aspect allows for a hard contraction in the inner lats and upper back.
With both feet on one side of the barbell, bend down and grab the barbell just behind the plates. With your torso just above parallel to the floor and knees slightly bent, row the barbell up with your upper arm tucked into your side. At the top of the movement, pull your shoulders up and squeeze your shoulder blade to the mid-line of your back. (It may be more beneficial to use 25-pound plates instead of 35s or 45s due to the range of motion.)

Lat Pull-Down
A standard lat pull-down is a great option to focus on width for back. A lot of plate-loaded or other pin-loaded machines of this variation standardize range of motion and bar path, but here, it really allows enough freedom to focus on the areas specifically needed to target to each body. When it comes to vertical pulling movements, this one is tried and true.
Sit on the seat and push your legs deep enough under the thigh pad that your hips are touching it. From there, with your grip at shoulder width, drive down and back through the elbows and retract your scapulae with the rep finishing with the bar at the base of your neck. Lean back just far enough to allow a full range of motion at the peak contraction, but not far enough to take any tension off the targeted musculature.

Reverse-Grip Pull-Down
To make the previous movement prioritize tissue in the lower lats, grab the bar with a supinated grip. Don’t be afraid to lean a little farther back on the contraction either! You can also move the pin down the stack another notch or two now that you have the help of your biceps to assist you.
From the hips down, you’ll have the exact same positioning and setup here. I would aim to keep a shoulder-width grip; the most efficient movement will have your body using straight lines through the range of motion. Again, the direction of pull will be down and back, but to get the most out of your lower lats, you want to keep your elbows in front of your ribcage through the entire range of motion aside from the peak contraction.

 Straight-Arm
Pull-down
This is one of my favourite back exercises. The straight-arm pull-down is a great mimic of the functions of the lats. You can pretty much go through 180 degrees of active range of motion on the lats with this exercise. If you’ve exhausted yourself and are done with heavy lifting for the workout, this makes a great choice for an exercise towards the end of your workout.
Attach a rope or bar to a high cable. Stand just far enough back that you can stretch your arms overhead while your torso is parallel to the ground and the weight stack is still suspended. Pull down and back in a semicircular motion until your elbows are behind you and contract your lats hard for a second. Keep your elbows tucked in through the entire range of motion back to the starting position. Repeat.

Bent-Over T-Bar Row
This is another exercise that makes a great finisher, but especially so for someone who’s trying to bring up the mid- to upper back. There are a few ways to execute this movement. If you’re a bodybuilder, you’ll agree the most “hardcore” way of doing these is to place a barbell into the corner, load on some 45s, and “grip it and rip it,” just as Ronnie Coleman made so popular. If your gym doesn’t allow for this, hopefully it has a machine substitute with a multi-grip handle.
Bend over the bar with knees slightly bent and your torso parallel to the ground. With your spine neutral, grab either a close-neutral grip handle or a grab a handle overhand at shoulder width or closer. Row your elbows back to your hips (depending on what grip you use, your hands will finish in differing positions) and retract your shoulder blades as hard as you can at the top of the movement. Protract your scapulae and let the handles drop, but keep constant tension on the lats and upper back.

YOUR BACK BLITZ ROUTINE
EXERCISES
1. Seated wide neutral-grip row
2+ warm-up sets of 12–15 sets, then 3 sets of 8 reps
2. Seated one-arm row with D-handle
3 sets of 10 reps
3. Pull-ups
3 sets of 8–12 reps
4. One-arm barbell row
3 sets of 8 reps
5. Lat pull-down
3 sets of 10–12 reps
6. Reverse-grip pull-down
3 sets of 12 reps
7. Straight-arm pull-down
4 sets of 15 reps
8. Bent-over T-bar row
3 sets of 12–15 reps
If you’re feeling like your back isn’t totally fried after all of that, you could end with a few sets of high-rep deadlifts, good mornings, or hyperextensions. However, if you’ve trained legs the day before or plan on training them the day after this workout, I’d opt to save your lower back for that. Beyond that, pretty much all of your vertical- and horizontal-plane pulling is taken care of.

Back Where We Started
And there you have it. If you’re aiming to pack on mass and develop detail, work this into your rotation for the next eight to 10 weeks. You can vary the exercises by using different attachments and grips if you really want, but I just recommend using the exact same movements and trying to add five pounds of resistance each week. If you’re someone who’s training back twice a week already, just substitute this for one of your workouts. In a couple of months, you’ll notice a different look and feel to your back and might even have to walk sideways through a doorway.
Click HERE to sign up for our free newsletter!